작업제목 : 스프링(부트 포함) 배치 프로그램(SELECT 후 INSERT DB)
작업순서 :
1. 스프링 부트 pom.xml 설정
2. BatchVO.class, BatchConfiguration.class, BatchJob.class, BatchApplication.class 생성
3. BatchConfiguration.class 작성
4. BatchVO.class 작성
5. BatchJob.class 작성
6. BatchApplication.class 작성
7. 정상 작동되는지 테스트 및 확인
8. jar 파일로 생성
9. bat 파일 생성 후 bat 파일로 실행
10. 윈도우 스케줄러에 등록하여 특정 시간에 bat 파일이 작동되도록 구성
작업 순서에 맡게 첫번째 작업을 진행하고자한다.
1. 스프링 부트 pom.xml 설정
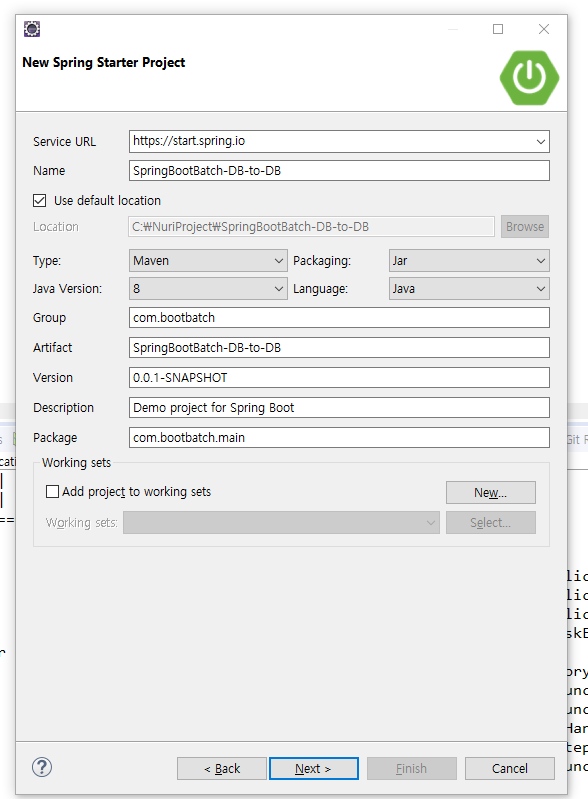
우선 프로젝트 생성을 해보도록하자.


pom.xml에 추가할 dependency는 많지않다.
아래 코드 블럭을 참고해서 추가하도록하자.
	<dependencies>
		<dependency>
			<groupId>org.springframework.boot</groupId>
			<artifactId>spring-boot-starter</artifactId>
		</dependency>
		<dependency>
			<groupId>org.springframework.boot</groupId>
			<artifactId>spring-boot-starter-jdbc</artifactId>
		</dependency>
		<dependency>
			<groupId>org.springframework.batch</groupId>
			<artifactId>spring-batch-core</artifactId>
		</dependency>

		<dependency>
			<groupId>org.projectlombok</groupId>
			<artifactId>lombok</artifactId>
			<optional>true</optional>
		</dependency>
		<dependency>
			<groupId>org.springframework.boot</groupId>
			<artifactId>spring-boot-starter-test</artifactId>
			<scope>test</scope>
			<exclusions>
				<exclusion>
					<groupId>org.junit.vintage</groupId>
					<artifactId>junit-vintage-engine</artifactId>
				</exclusion>
			</exclusions>
		</dependency>
		<dependency>
			<groupId>com.oracle</groupId>
			<artifactId>ojdbc6g</artifactId>
			<version>11.2.0</version>
		</dependency>
</dependencies>'[프로젝트제작&정리] > 스프링 배치 프로그램 제작' 카테고리의 다른 글
| [스프링(부트 포함) 배치 프로그램] 6. BatchVO.class 작성 (0) | 2020.03.24 |
|---|---|
| [스프링(부트 포함) 배치 프로그램] 5. BatchConfiguration.class 작성 (0) | 2020.03.20 |
| [스프링(부트 포함) 배치 프로그램] 4. BatchVO.class, BatchConfiguration.class, BatchJob.class, BatchApplication.class 생성 (0) | 2020.03.20 |
| [스프링(부트 포함) 배치 프로그램] 2. 프로젝트 구성 (0) | 2020.03.20 |
| [스프링(부트 포함) 배치 프로그램] 1. 배치 프로그램이란? (0) | 2020.03.20 |